| Table of Contents | ||||||
|---|---|---|---|---|---|---|
|
Completing the First Signature
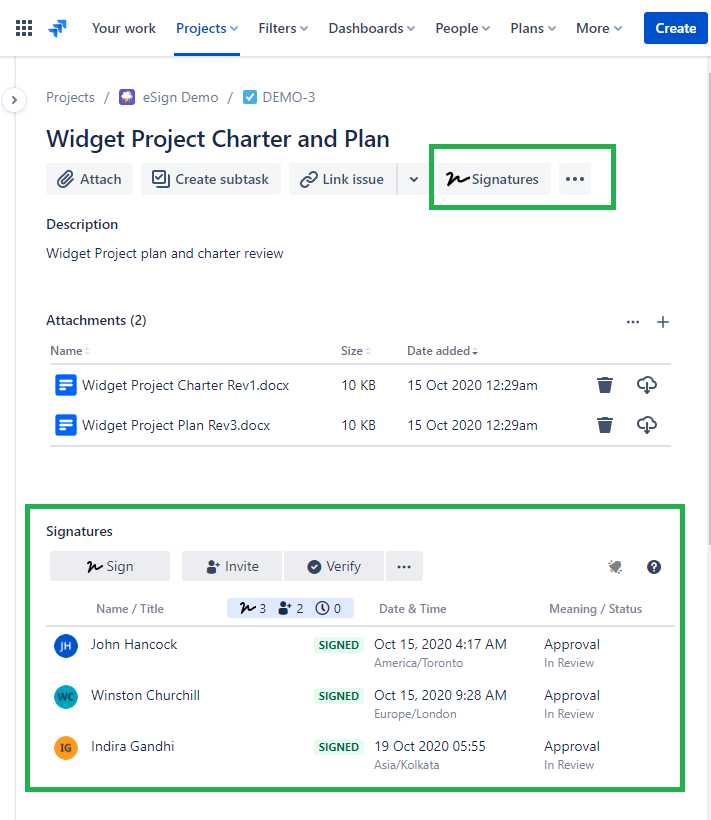
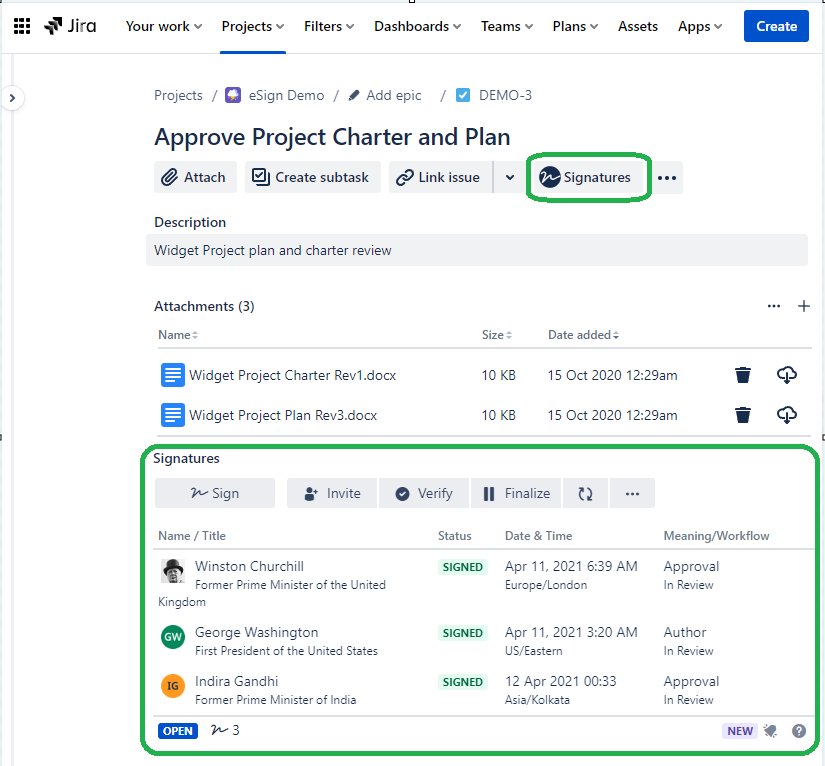
#1 Open the Signatures Panel
Navigate to any Jira issue. For the first Signature, click the “Signatures” Quick Add button in the issue toolbar. (The Signatures panel will display by default on any issue that contains Signatures. )
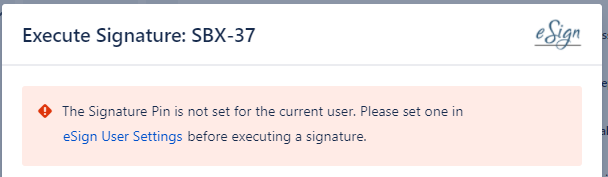
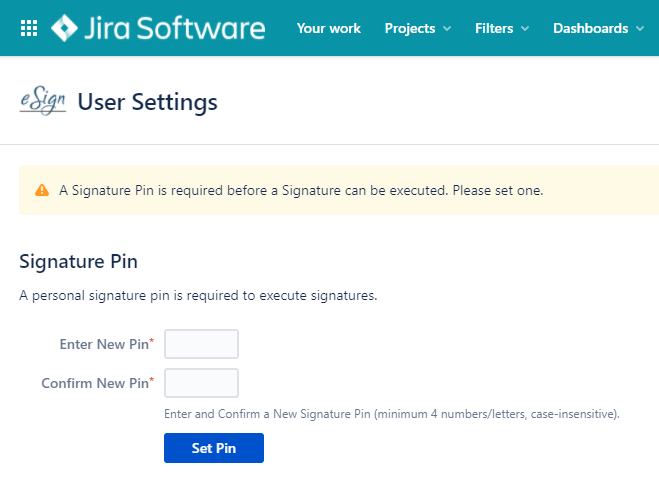
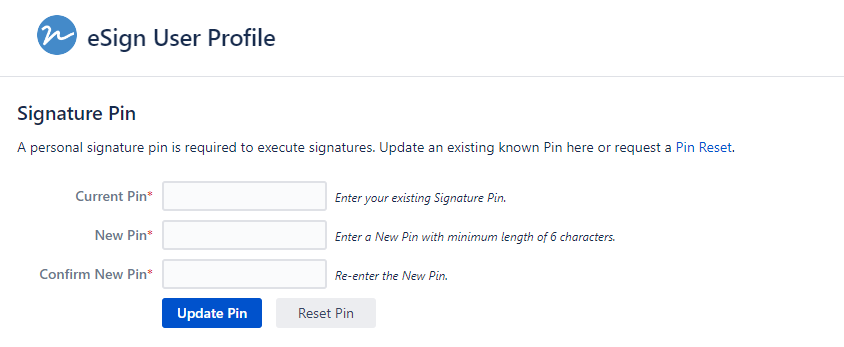
#2 Get a Signature Pin
Before signing for the first time, each user must set a Signature Pin. This is a security authentication code that is used to authenticate every signature. New users will request a Pin to be sent to them via e-mail. Users can optionally update and manually set the Pin via the User Settings page.
Forgotten pins can be Reset via e-mail from the Execute dialog or User Settings pages.
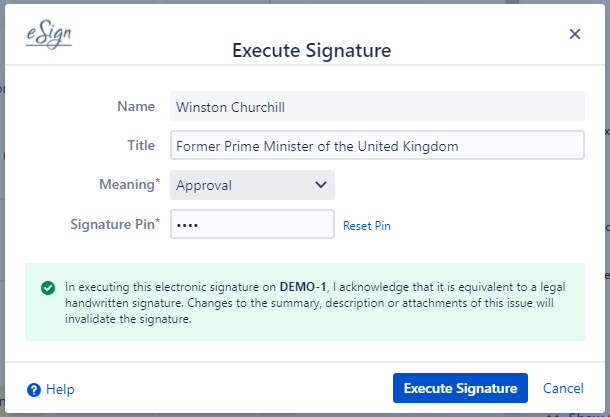
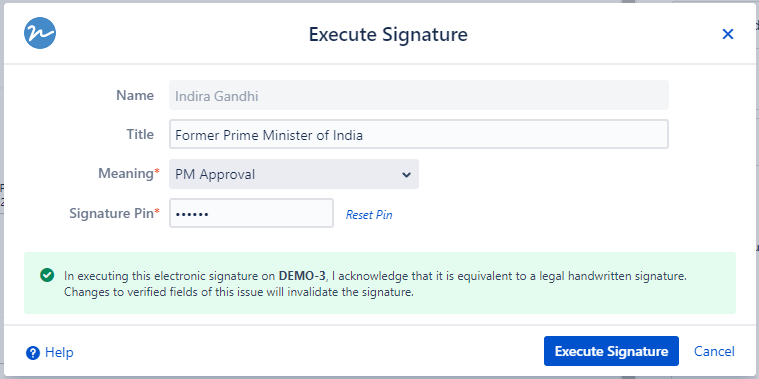
#3 Execute Signature
Click the “Sign” button to open the Execute Signature dialog. Enter the user Title (optional), Meaning, and Signature Pin and press Execute Signature. Once authenticated, the signature will be added to the issue and displayed in the Signature Panel.
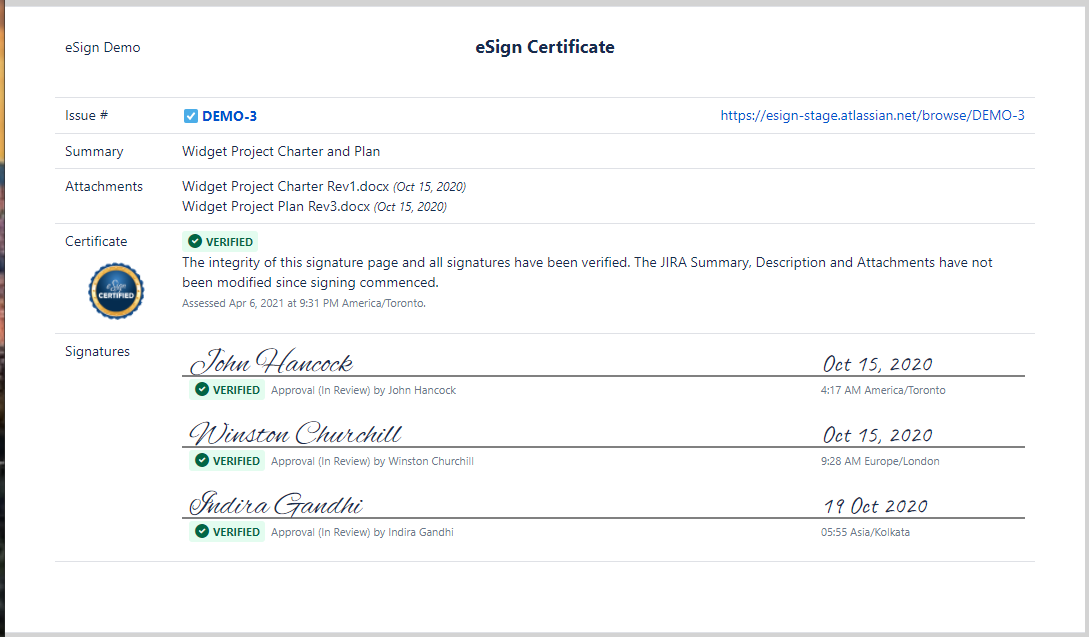
#4 Verify Signatures
A Signature Certificate can be generated to Verify signatures for any issue. See Signature Verification Report for more information
Explore Additional eSign Functionality
Invite Users - Send issues to other users for Signatures
Explore configuration options in App Settings and Project Settings
Bulk Operations - Signatures, Invites and Verification from Jira Advanced Search
PDF Signature Archives - Generate a snapshot of issue details, attachments, comments and verified signatures into a PDF attached to the issue for audit/archive purposes.
Advanced Search options in eSign Custom Issue Fields
See Jira Workflow integration options in Advanced Workflow Configuration
See eSign Feature Summary for a comprehensive list.